

How to Reduce Tape Hiss Without Losing Analog Warmth
Tapes hiss, it’s what they do. If you want audio without imperfections, tapes might not be the right format. But, if you are looking to get the analog sound just right, Tape Lab knows how to get that underground grit and still sound good on the aux.
If you work with tapes long enough, you learn that hiss is not always the enemy. A little noise can add air, texture, and that unmistakable analog warmth people keep chasing with plugins. But there is a line between character and distraction. The goal is not to sterilize a tape recording. The goal is to reduce unwanted hiss without stripping away the life that makes tape sound like tape.
At TapeLab.Live, we have released hundreds of tapes and spent years working at the intersection of analog sound, cassette culture, and tape-based media. We know the beauty of imperfection. We also know when a mix needs cleanup.
Why Do Tapes Hiss?
Tape hiss is the natural noise floor of analog tape.
Unlike digital audio, which stays relatively quiet until the signal appears, tape is always carrying some amount of background noise. That noise comes from a few places: the tape itself, the electronics in the deck, the preamps, and the mechanical imperfections of the machine. Magnetic particles on tape do not line up perfectly, and the playback system is never completely silent. The result is that familiar high-frequency shhh that sits behind the music.
Tape players also have motors, belts, and moving parts that are inherently imperfect. Even a good machine is mechanical before it is magical. Small inconsistencies in motor speed, transport stability, and head alignment can affect how cleanly the signal is reproduced. That does not create hiss by itself in a simple one-to-one way, but it absolutely contributes to the broader texture of tape playback: noise, instability, and subtle motion included.
Analog Warmth Comes With Character
People love analog because it does not sound clinically perfect.
Tape can soften transients, round off harsh edges, and add a kind of density that feels musical instead of brittle. Slight saturation, gentle compression, harmonic buildup, and a little movement from the transport all contribute to what people call warmth. Hiss is often riding alongside that warmth.
That is why heavy-handed cleanup can backfire. If you remove every trace of noise, you can also remove the sense of space, body, and realism that makes a tape transfer interesting in the first place. A tape that is too “cleaned up” can end up sounding thin, flat, and weirdly lifeless.
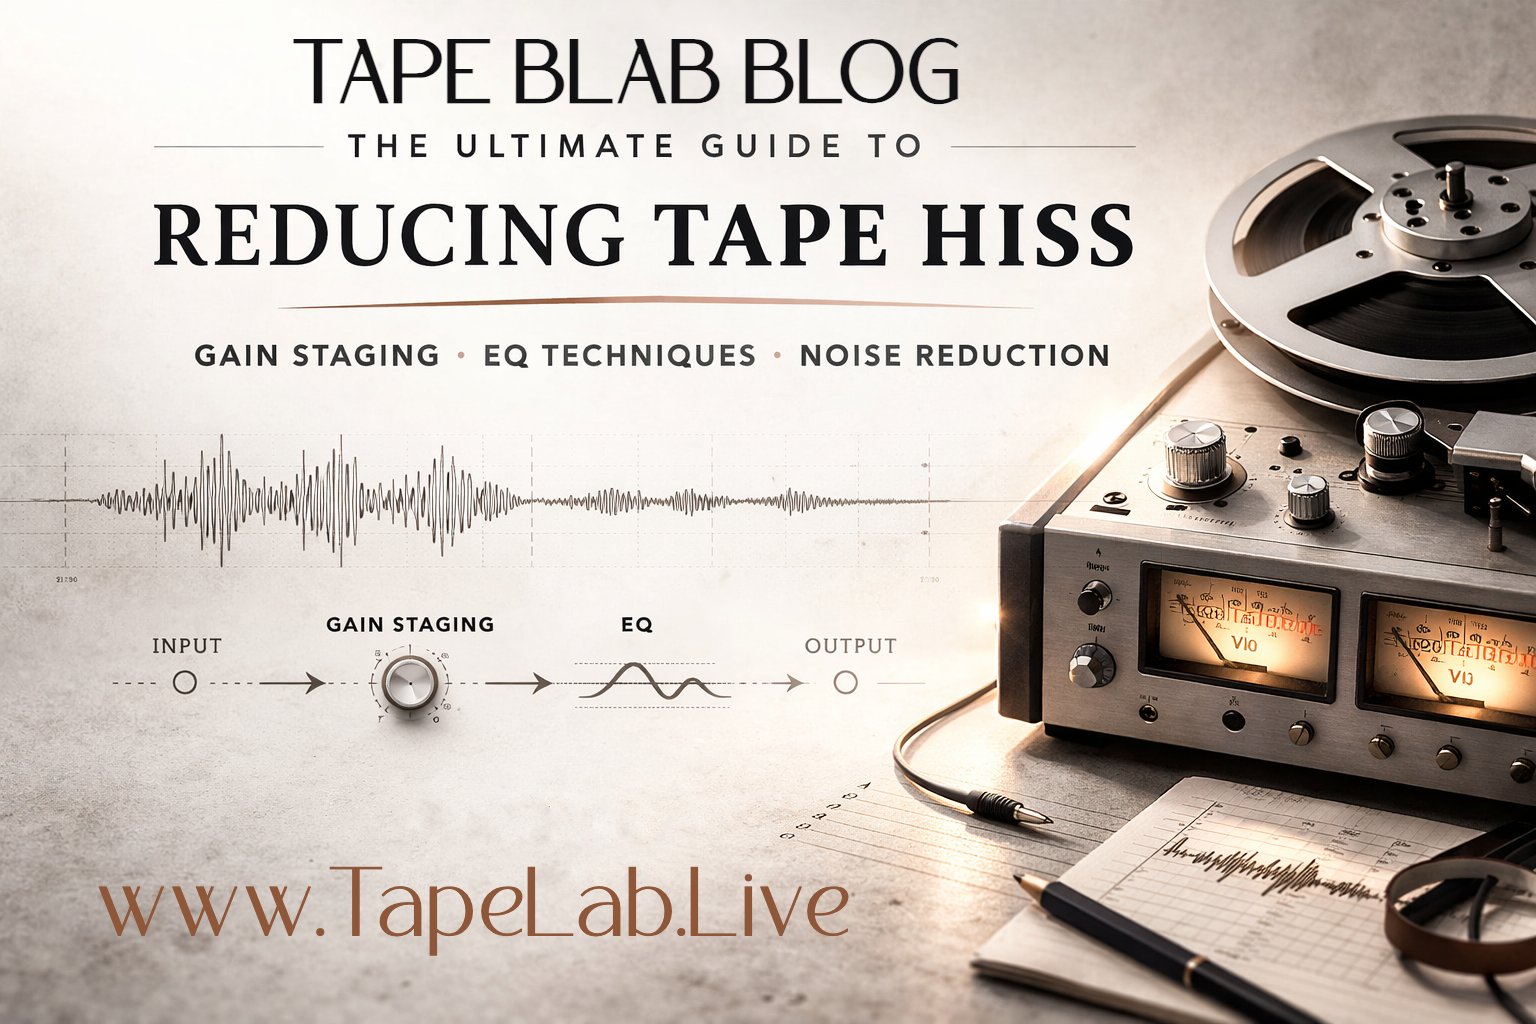
Gain Staging: What It Is and Why It Matters
If you want less hiss, start with gain staging.
Gain staging is the process of managing signal levels at every point in the audio chain so you get a strong, usable signal without distortion or excessive noise. In plain terms, you want the source to be loud enough to sit well above the noise floor, but not so loud that it clips, overloads, or falls apart.
A simple example: think about playing music from an old MP3 player through an aux cord into speakers or a stereo. If you crank the MP3 player’s output too high, the input can distort. It gets crunchy fast. But if the output is too low, you have to boost the next stage too much, and now you are raising the noise floor along with the music. The sweet spot is a healthy signal that is strong, clean, and controlled.
Tape works the same way. If your playback deck is feeding your interface too quietly, you may end up boosting the recording later and exaggerating hiss. If it is too hot, you can introduce distortion or harshness. Good gain staging gives you the best signal-to-noise ratio before you even touch EQ.
Should You Use Noise Reduction on Your Tape Player?
Maybe. Carefully.
Some tape decks include noise reduction systems such as Dolby or other built-in playback features designed to reduce hiss. In some cases, these can help. In other cases, they can make things worse, especially if the tape was not originally recorded with the matching system engaged.
This is where things get tricky. Noise reduction can alter the tonal balance, dull the top end, or create strange artifacts when the playback settings do not match the way the tape was encoded. Overprocessing can also create phasey, smeared, or pumping results that feel less natural than the original hiss. The tape may sound “cleaner,” but also less stable, less open, and less musical.
That is why noise reduction on the deck should be treated as an option, not a default. Trust your ears. If engaging it improves clarity without damaging the tone, great. If the recording suddenly feels hollow, swishy, or oddly flat, back off.
The Best Way to Reduce Tape Hiss: Use EQ in Your DAW
For most modern workflows, the cleanest and most controllable way to reduce tape hiss is with EQ inside your DAW.
Why? Because EQ gives you precision. Instead of broadly choking the signal, you can target the frequencies where the hiss is most distracting while keeping the body of the recording intact.
Start subtly. Tape hiss often lives in the upper frequencies, but you do not want to just hack off all the top end and call it a day. That is how you end up with a dull transfer that has no sparkle left. The same warning applies to the low end. If you get too aggressive with cleanup across the spectrum, the result can feel weak and thin.
A better approach is to sweep for problem areas using a narrow bell or notch filter. Find the frequencies where the hiss or harshness is poking out most, then reduce only what you need. Small moves are usually better than dramatic ones.
How to Sweep for Problem Frequencies
A good workflow looks like this:
Insert an EQ on your tape transfer.
Use a narrow boost temporarily to sweep across the frequency range and locate the most annoying hiss or harsh peaks.
Once you find the problem area, flip that boost into a gentle cut.
A/B the result often.
Stop before the life disappears.
The point is not to erase every imperfection. The point is to shape the noise so the music stays front and center.
Understanding EQ Filter Types
If you are reducing tape hiss in a DAW, it helps to know what each filter actually does. You can just use the stock EQ in your DAW, or many love the FabFilter. Tape Lab swears by the trusty Ableton EQ-8.
High-Pass Filter
A high-pass filter removes low frequencies and allows higher frequencies to pass through. This is useful for cutting rumble, hum, or low-end mud, but overdoing it can strip away body and warmth.
Low-Pass Filter
A low-pass filter removes high frequencies and allows low frequencies to pass through. This is the most obvious tool for reducing hiss, but it can also kill brightness and detail if pushed too far.
Band-Pass Filter
A band-pass filter allows only a selected range of frequencies through while cutting above and below it. It is more useful for isolating a section of the spectrum during analysis than for broad cleanup in a final mix.
Notch Filter
A notch filter removes a very narrow frequency band. This is excellent for targeting specific problem tones or especially annoying resonances without reshaping the entire recording.
Bell or Peak Filter
A bell filter boosts or cuts around a selected center frequency. This is one of the most useful tools for tape cleanup because it lets you make precise, musical adjustments without flattening the whole top end.
High Shelf Filter
A high shelf raises or lowers everything above a chosen frequency. This can be a smooth way to reduce overall hiss more gently than a low-pass filter.
Low Shelf Filter
A low shelf raises or lowers everything below a chosen frequency. This is useful for shaping weight and warmth, but cutting too much can leave the tape sounding weak.
How to Reduce Hiss Without Making the Tape Sound Thin
This is the balancing act.
If you remove too much top end, the transfer loses air. If you remove too much low end, it loses weight. If you overprocess the middle, it can lose presence. The best results usually come from a few small moves instead of one dramatic correction.
Try this:
Start with good gain staging before recording the transfer.
Test any built-in noise reduction on the deck, but do not assume it is helping.
Use a high shelf or gentle top-end cut first.
Sweep with a narrow bell or notch filter to find the worst frequencies.
Leave enough low end and upper detail intact that the tape still feels alive.
Tape is supposed to have texture. Let it.
Final Thoughts
Tape hiss is not a flaw to be eliminated at all costs. It is part of the analog experience. The real skill is knowing how to control it without crushing the warmth, movement, and depth that made you reach for tape in the first place.
At TapeLab.Live, we have spent years building knowledge through hands-on work with tape-based media, analog playback, physical releases, and hundreds of cassette projects. We love the sound of tape because it tells the truth about the machine. The motor is imperfect. The medium is imperfect. That is exactly why it feels human.
If you want better tape transfers, cleaner cassette playback, and stronger analog recordings, start with gain staging, use noise reduction features carefully, and trust your EQ more than any magic button.
That is usually where the hiss stops being the story.